

How To Set Up Mini Sessions in Honeybook | VA for Photographers
While there are a lot of differing opinions out there, the truth is: Minis can be an amaazzinnng addition to your photography business, but only if you have them set up to save you time. So how to set up mini sessions in Honeybook? I’m glad you asked!
As a virtual assistant for photographers, we kinda live and breathe Honeybook. It’s a fantastic client management system, particularly when you’re looking for mini sessions. (Here’s our link to save some $$) With their “Lead Forms” and seamless automations, it really makes mini sessions feasible.
Because here’s the thing: you don’t want to run mini sessions if they aren’t automated. They will eat up SO MUCH TIME and you’ll kick yourself for ever offering. BUT, if you can eliminate that time-suck by automating the process, then you can really serve a whole new audience with your services.
And remember, since it’s a lower price point, the customer service is going to be a little less one-on-one, and that’s okay. People don’t walk into Target expecting Chanel.
Just make a really kick ass Target experience, and you’ll be fine.
Okay…
How to Set up Mini Sessions in Honeybook:
I want you to think of this like you’re putting together a puzzle. But not a 5000 piece puzzle, more like one of those kids puzzles with the little knobs on the pieces. We’re going real simple here, folks. We’re gonna lie out all the pieces on the table and then put them together in an automation.
Piece 1: Lead Form
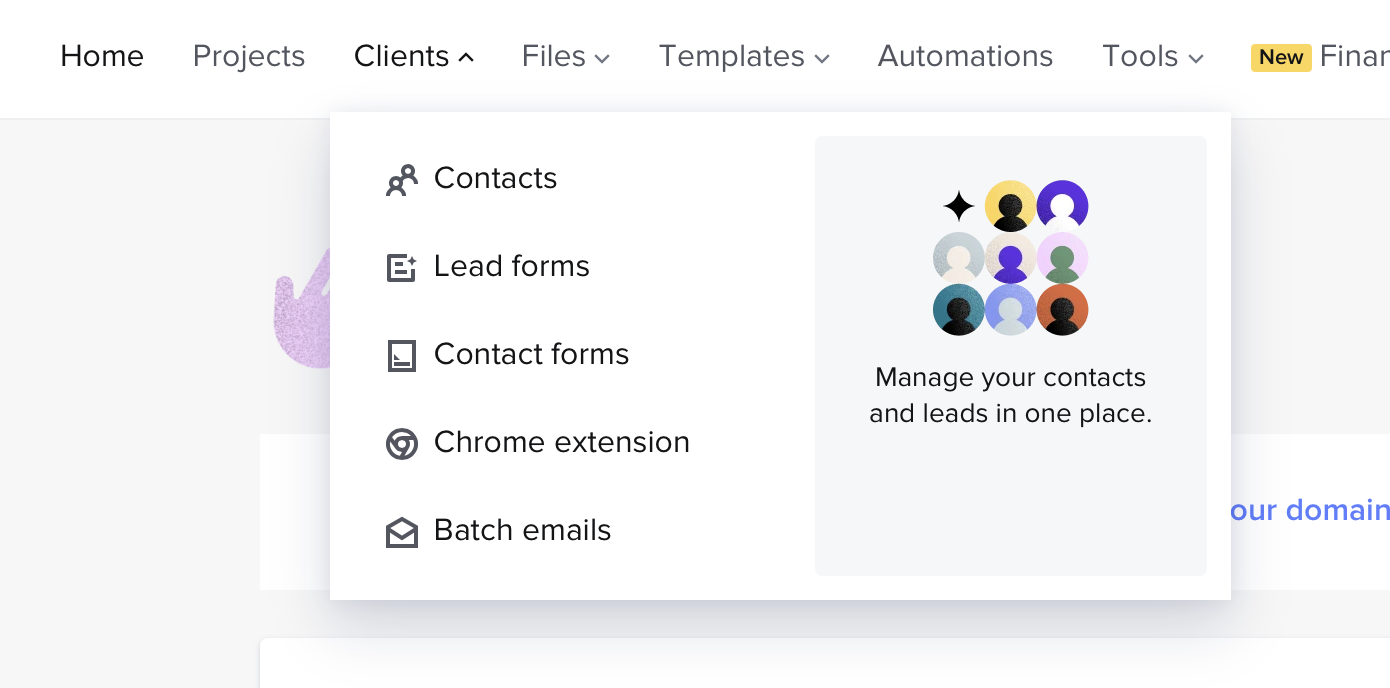
Create a new lead form in Honeybook.
This is your pretty (client facing) page where they can pick a date + pay you money all in one.
From the backend, it looks like this ⬇️
Make sure to set up your scheduler, and double check the time zones on it!
Step 2: Contract

Create a contract in your file templates! You can modify and tweak the regular one you use to apply to mini sessions. I recommend not having too many customizable fields so that it’s very repeatable, if you want higher volume.
Step 3: Prep Emails
Write all the emails you’re going to use for your mini session. I recommend:
“Here’s your Contract” email
Welcome Email
Prep Email
3 Days Before Session Email
1 Day Post-Session Email
Review Email
Step 4: Pipeline Categories
Where do you want your new clients to land in your pipeline?
Do you want them all in a “mini session” category? Or you could have a few phases for them, depending on how in depth your system is.
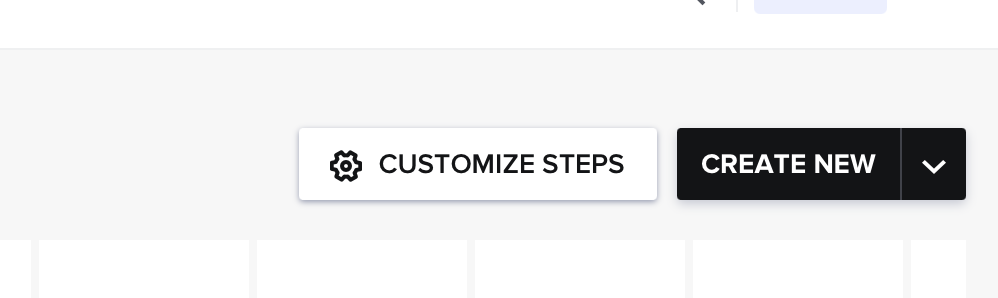
Step 5: Create Automation and connect to lead form
This is where you are putting the pieces together and the puzzle is forming!
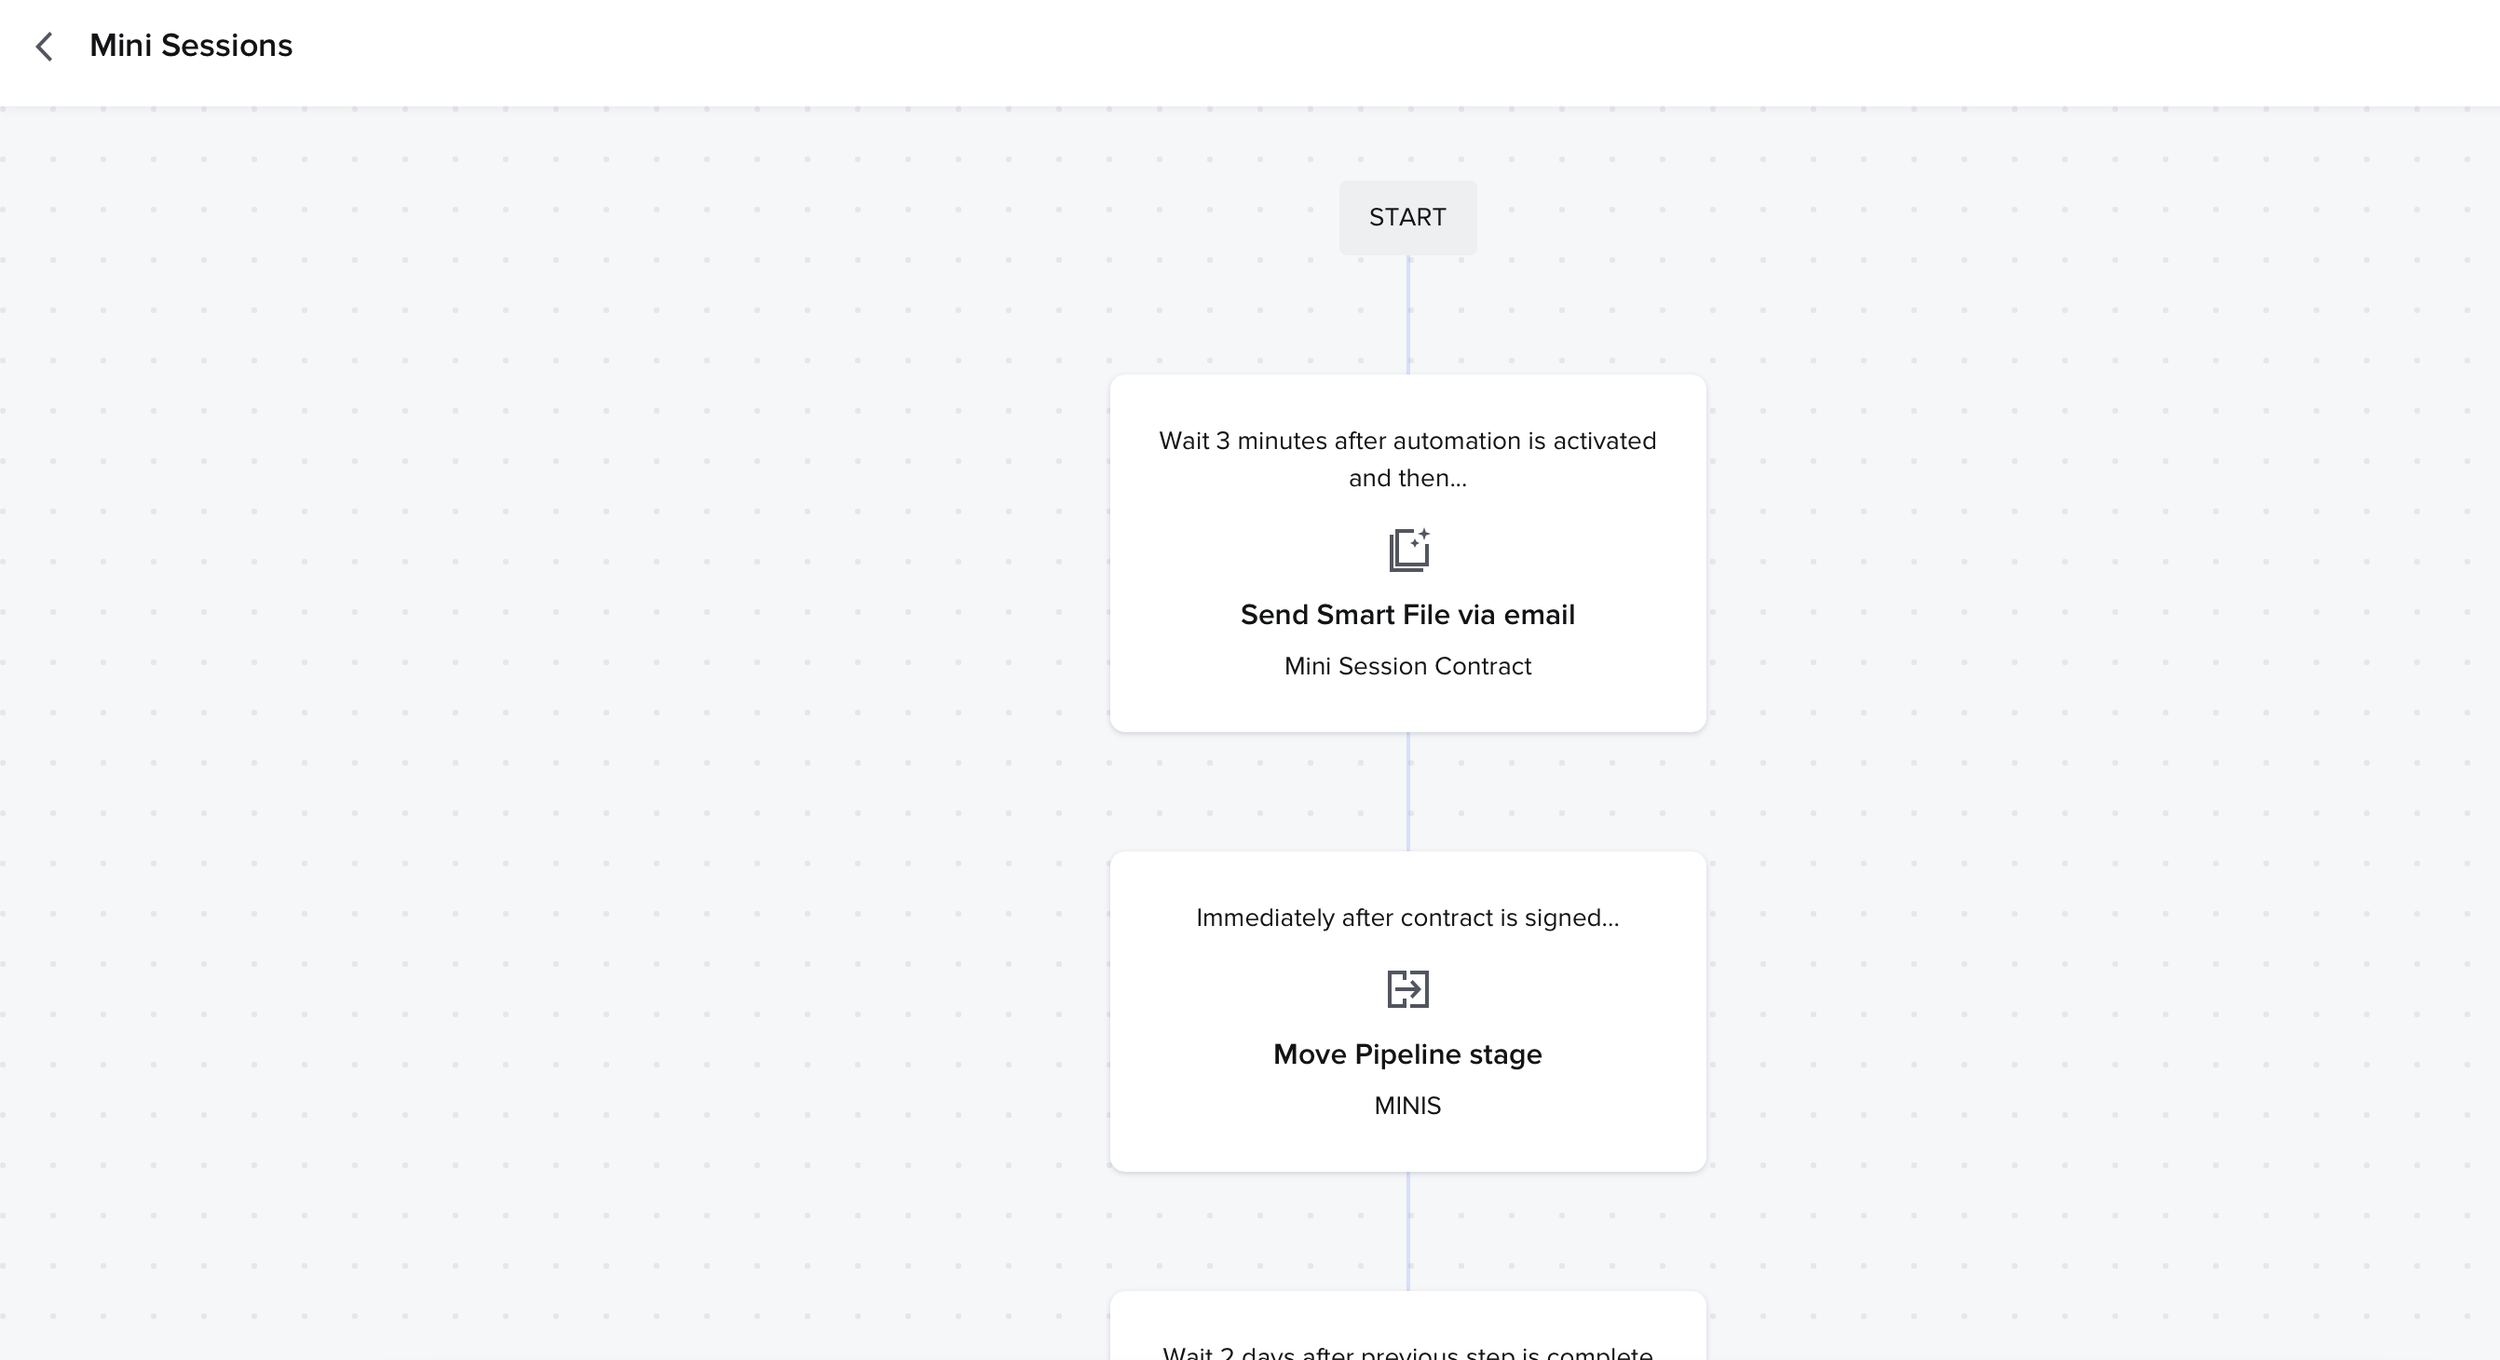
Go through each step you want your mini session clients to experience and build it into an automation. You can set the emails to “approve before sending” if you still want to stay hands-on in the process.
I recommend:
send your contract out immediately
send out a welcome email once signed
send a prep email a few days later
send a reminder email a few days before the session
send an email the day after the session to set editing and upselling expectations
send a review request after gallery delivery
And you can modify and personalize that howeReach out here! ver feels authentic to you.
Pro tip on how to set up mini session in Honeybook: you can also send text reminders via the scheduler you used in the Lead Form. So make sure to check those boxes, because people like text reminders more than emails in general!
Step 6: Connect your automation to your lead form, and share your URL
Go into the settings of your lead form, and connect your automation! Now when people sign up for a spot, they will immediately get the automation. You can share your URL for the lead form wherever you are launching your minis, and it will run seamlessly.
I hope this helps as you figure out how to set up mini session in honeybook!
Also no shame in the outsource game- we can do all of this for you! Reach out here!
